Areas in MVC

Introduction
In the previous article, you learned about what is Cookies and sessions and how we can use that in the MVC application.
In this article, you will learn about what is Areas, the advantages of Areas, and how to use them in an MVC application.
This article will be helpful to beginners and students who are learning.
What is Areas
Areas give you the facility of separating modules and allow us to organize the model, view, controller, Web.config, and Routing registration file into separate sections of the application.
This is very useful in a large web application that has many modules, so you can maintain them all by separating them into Areas.
Each MVC Area has its own folder which keeps the model view and controller separately. So it’s easy to maintain complex and large web applications.
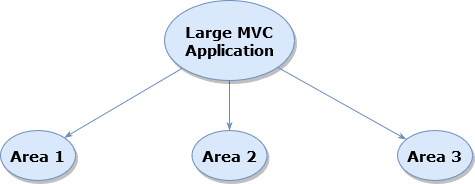
i.e. Suppose you have a large MVC web application that contains multiple modules, So to maintain all of those modules easily, you can create Area for each one of them as shown below.
Advantages of Area in MVC
- It allows us to organize models, views, and controllers into separate functional sections of the application,
- Easy to maintain the application.
- Easy to integrate with other Areas that are created by another.
- Unit testing can be easily done.
Areas in MVC web Application
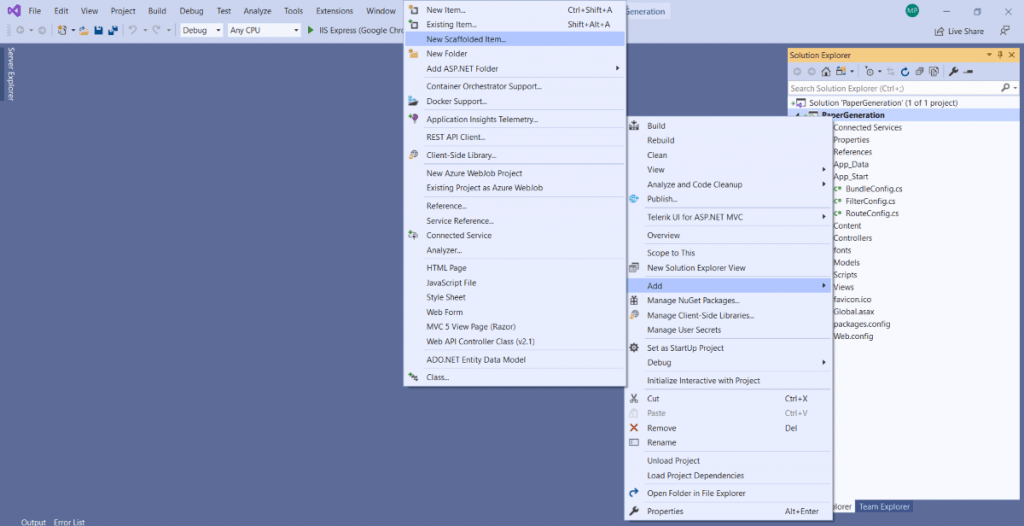
Step 1:
Right-click on the MVC project and select Add -> New Sclaffolded Item like shown in the below image,
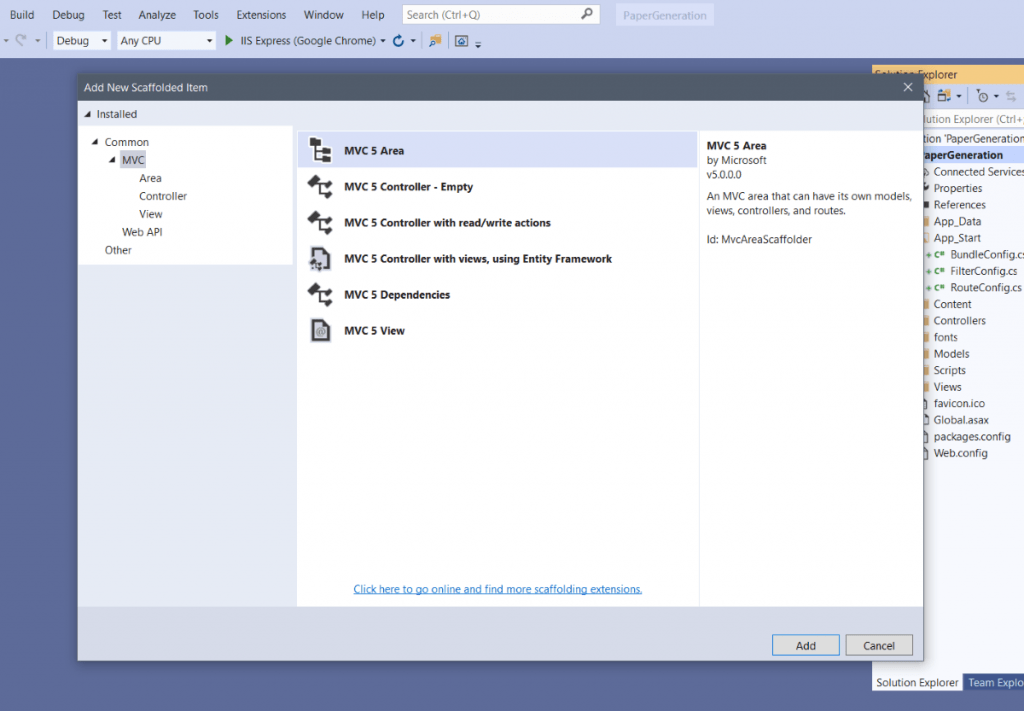
Step 2:
By clicking on the New Sclaffolded Item option a window will be open as shown below in the Image, From the Left side, the menu selects Common->MVC->Area and select the MVC Area option.
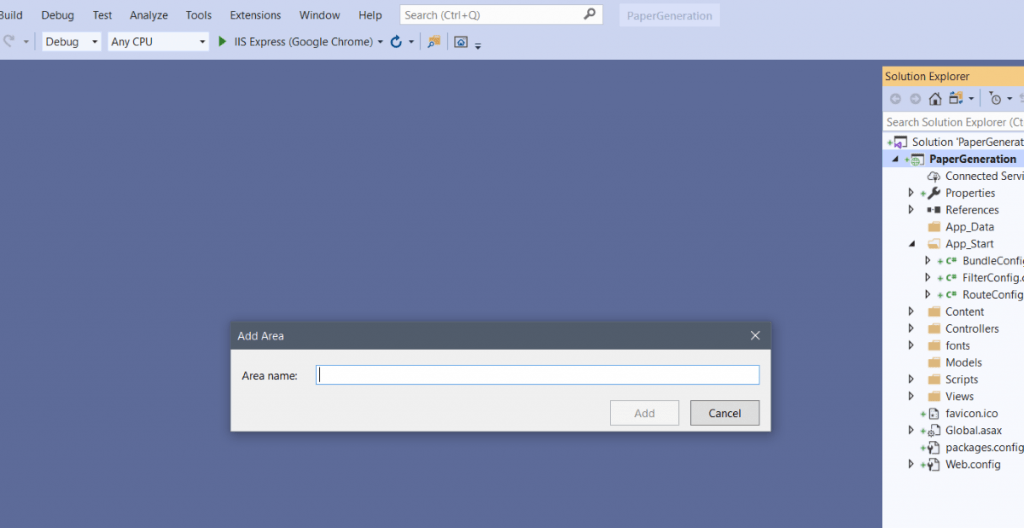
Step 3:
By hitting on the Add button there will open one window as shown in the below image, add the name of the area, and hit the add button and you will see the Area folder generated in the project.
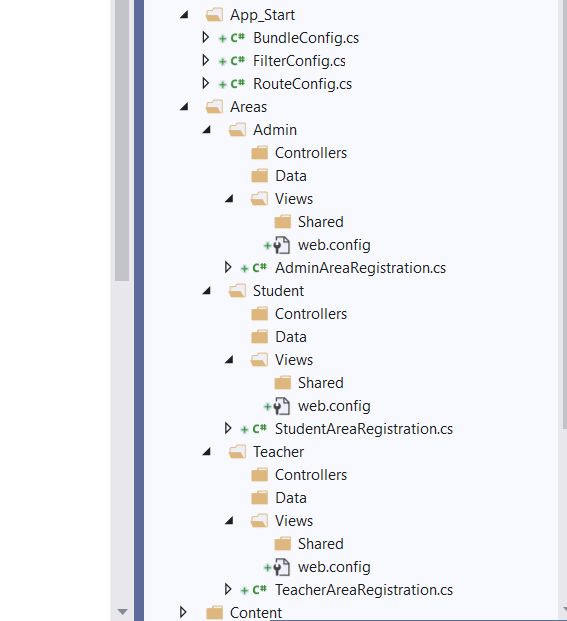
Step 4:
If you expand the Area folder you will see there is one AreaRegistration class file, if you have created an area called “Admin” the file will be named AdminAreaRegistration.cs.
This file contains the following code, In the RegisterArea method, there is the MapRoute property which specifies the route of the request of any method of a specific area. i.e. Here, we have the Admin area so every requested action of the Admin area will follow the below route.
 public class AdminAreaRegistration : AreaRegistration
    {
        public override string AreaName
        {
            get
            {
                return "Admin";
            }
        }

        public override void RegisterArea(AreaRegistrationContext context)
        {
            context.MapRoute(
                "Admin_default",
                "Admin/{controller}/{action}/{id}",
                new { action = "Index", id = UrlParameter.Optional }
            );
        }
    }
Here, I have created 3 Areas called Admin, Teacher, and Student as shown in the below image.
Step 5 :
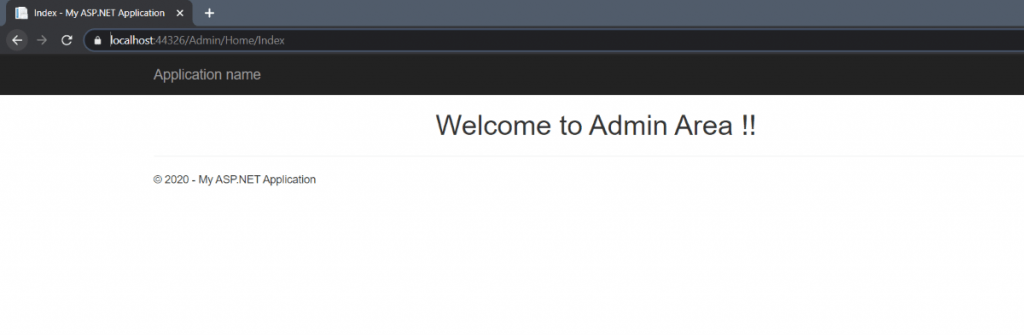
In the Index.cshtml page of Home controller of every area I have added one heading which contains the Area name of the particular method.
Run the project and change the Url as below and see how the actions are routed.
Admin Area :
https://localhost:44326/Admin/Home/Index
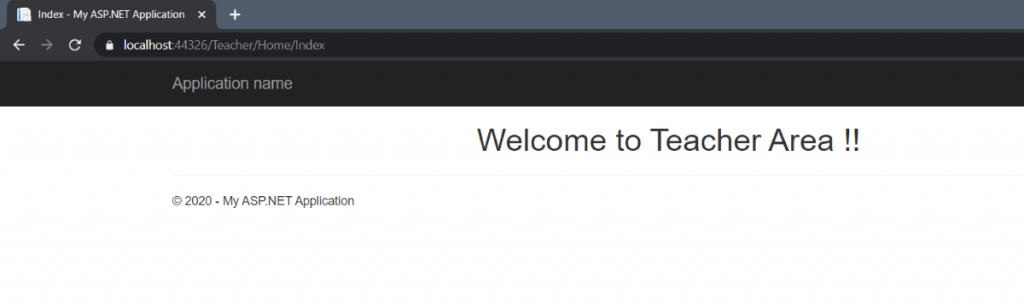
Teacher Area :
https://localhost:44326/Teacher/Home/Index
Student Area :
https://localhost:44326/Student/Home/Index
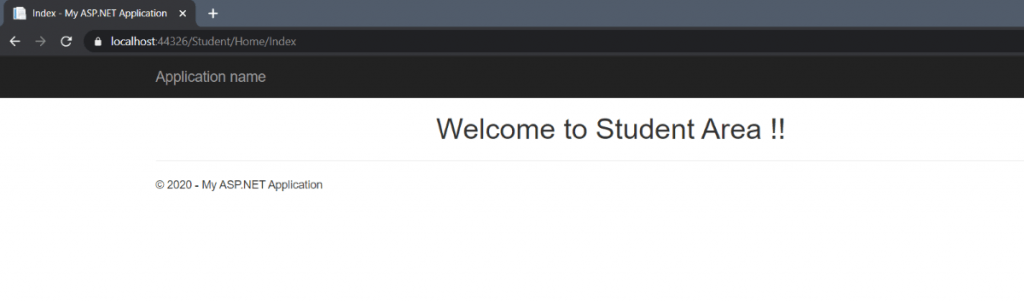
As in the above example, every request is routed as per the area of that action. Suppose the project has 50 controllers and each controller is containing 5 actions then it becomes so complex to maintain the code so by using the Area functionality project can be modular and separate.
I hope this article helps you to understand how Areas can be used in MVC applications and also what is advantages of using areas are. We will be happy to help you if you have any issues or queries. Comment your suggestions and issues and we will try to resolve them.